Would you like to grow specialty crops at home but don't have much space? Try a bucket planter!
Easy to make, this is a great solution for harvesting a lot of food from a small space. The slippery sides of the bucket also help to stop squirrels and other four-legged pests from reaching the plant. Here's how to build one:
Step 1: Cut out the bottom of two clean, unused buckets. For safety's sake, use new buckets to ensure that paint or other chemicals don't contaminate the crop. These were cut with a jigsaw, but a steak knife will work if you don't have power tools.
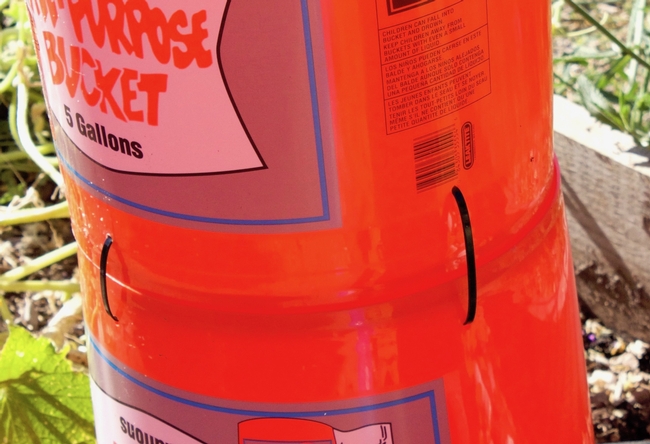
Step 2: Attach the buckets together. In this example, holes were drilled for zip ties. Scissors or a nail could also be used to punch a hole if you don't have a power drill.
Step 3: If needed, secure the planter. We've attached ours to a raised bed with a screw eye and a zip tie. This should hold it up in our windy location.
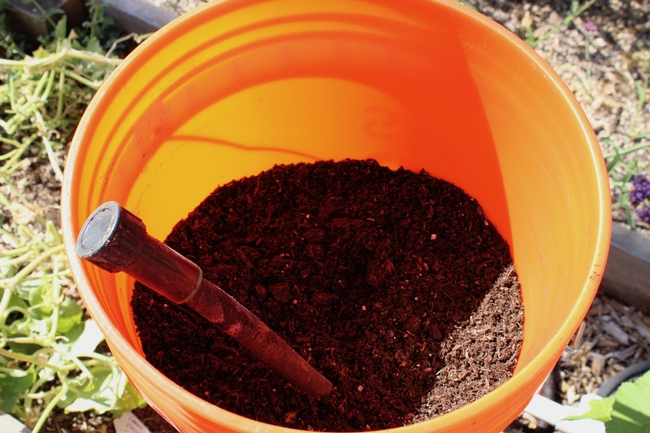
Step 4: Irrigation. Plants grow best in a tall container if there is a water source running the length of the root zone. We ran a soaker hose up the center of our planter.
Step 5: Fill with soil and wet thoroughly. We used a soilless container media; this is a peat-based product that does not absorb water well if it's dry. Soaking it completely before planting ensures that it remains evenly moist.
Step 6: Plant and enjoy! Mulch is recommended to help conserve water.
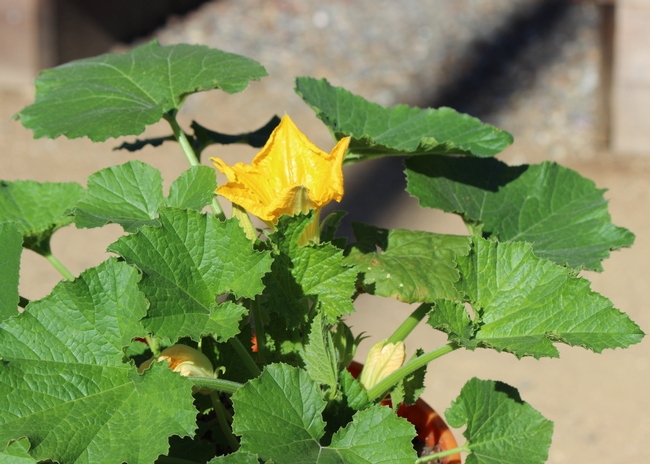
Two weeks after planting, our zucchini is blooming. Squash bees have been seen in the flowers, so a harvest can't be far behind!


