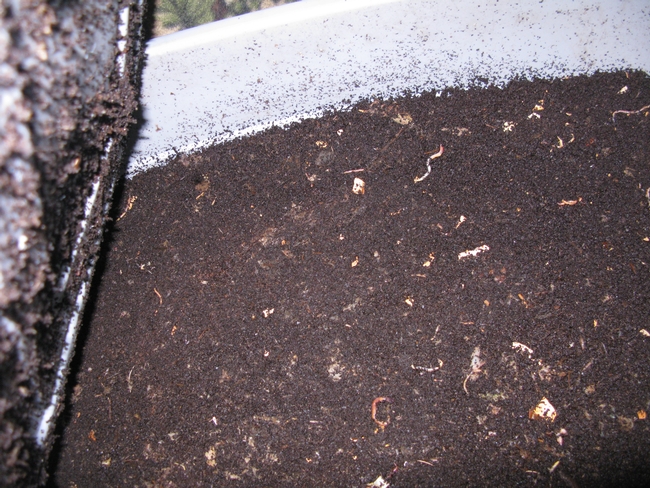
Harvesting Castings from your Worm Bin
After about three to six months of being fed, compost worms will have created enough compost to harvest. In this two bin system, when your bin is getting full you are ready to add the next layer of bin, nesting it on top. This works because you will stop feeding in the lower bin, and add food to the top bin. As a result, many worms migrate to the top bin through the air holes in the bottom of that bin.
To Start The Second Bin:
- Remove bedding and any uneaten food scraps you find and place in the upper bin. If you are using a system with only one bin, reserve the bedding and uneaten food to put back into the original bin.
- Many worms will be in the top third of the bin with compost. You can also take some of this compost with worms and transfer to the upper bin.
- Ensure a one inch layer of bedding in the upper bin, as before.
- Start feeding in the top bin. After about a week or so, many of the remaining worms in the lower bin will have moved to the upper bin. Some worms, however, don't like change and will stay in the lower bin reworking the compost.
To Harvest Compost:
- Dump the contents of the lower bin onto newspaper or plastic.
- From the pile you have dumped out, separate the compost into sections, making cone shaped piles.
- Worms do not want to be in the light: worms left in this compost will move away from the light, toward the bottom of each pile.
- Gently remove the top layer of compost from each pile, until you start to see worms.
- Let the worms continue to move to the bottom of the pile, and gently remove more compost from each pile.
- Working in about 20 minute increments, you will be left with piles that are mostly compost worms.
- Put your compost worms back into the bin, with the reserved paper and food.
- There may still be some worms in the compost you've harvested. In most environments they will not last long in the garden, but you will have retained the majority of worms to keep your bin working.
Using Worm Compost
Now that you have harvested the castings you have a nutrient rich soil amendment to feed to your plants. By adding this compost to your garden or to house plants you will help your plants thrive. These castings will help condition your soil and also add nutrients and beneficial microorganisms. When first harvested, the compost is damp, lumpy and clay like. This can be added to the garden right away or you can let it dry out to store. When dry it becomes a fine grained product that you can sprinkle at the base of plants. Here are some guidelines to keep in mind:
- Add up to 20% vermicompost into potting mix or garden soil.
- Sprinkle a layer at the base of plants; do not pile up against plant stems.
- Cover with soil or mulch to keep from blowing away.
I hope you enjoy the process of creating this healthy, rich soil amendment from scraps. Using compost worms is very easy, the process a wonderful way to dispose of garbage, and a great way to create compost, it is a beautiful dark soil conditioner that will help feed and nurture your plants.
References
Cheap & Easy Worm bin. http://whatcom.wsu.edu/ag/compost/Easywormbin.htm.
Cornell Composting http://compost.css.cornell.edu/worms/steps.html
